 So. I got home at about 17:00 and pretty much headed straight for the garage. I had placed my space heater in there before going to bed last night to keep it nice and warm, in an effort to assist the curing as much as I could.
 Using the yellow plastic filler spreaders, I hammered in my entire supply all around the circumference of the mold. I kept this up, sometimes doubling up on the wedges, until I started to hear some encouraging crackling noises. After about half an hour, there was one final *crack*, and the dome had come loose. That silicone release agent worked like a charm! No PVA at all, just a few coats of that silicone.
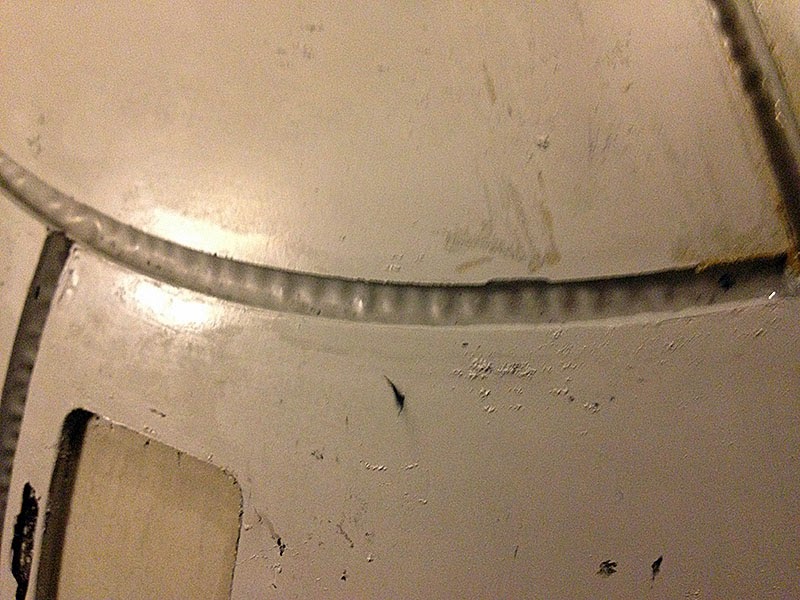
I set to work removing the trim and the rubber inserts. I could already tell that there was damage due to the air pockets. It's something that I'm pretty sure I can repair with some Bondo filler.
Some pictures of the damage, blemishes, and groove "ripples":
And shots of all four sides of the dome:


After I trimmed off the fur with my Dremel tool, I snapped the latest stack shot:
I'll very likely make another dome. If I do, I need to repair the mold a little, and I'm going to apply these lessons going forward:
- Use a bit more catalyst in the gel-coat, at least another 10-20 drops' worth for 8 ounces, stirring quite thoroughly, scraping the sides of the cup with the mixing stick
- Allow the gel-coat to get a decent amount of tack before applying glass tape
- Use either thinner tape for the reinforcement of the grooves, or apply tape on either side of them (and the inserts) first to build up the glass, then cover with another strip of glass tape
- Use thinner chop mat initially, and build up from there


No comments:
Post a Comment