
When the final coat of varnish had dried, I applied the first coat of release wax with a standard household sponge. I misread the instructions which said to basically buff it off after a few minutes, when the wax got a bit dull. Instead, I went out and came back to the house several hours later, to see milky streaks all over the dome plug. I wiped all that off with a microfiber cloth and applied a second coating, this time buffing it soon after.
 After about six coats of release wax, I then mixed up 8 ounces of gel-coat with some of the blue dye stirred in, and painted that on the dome. A few of the bristles of the brush got onto the plug as well, so I tried to fish those out when I saw them. I only wound up using half of what I mixed up, which is great since gel-coat is expensive. Afterward, I cleaned up some missing spots with a foam brush, which I probably should have used from the start.
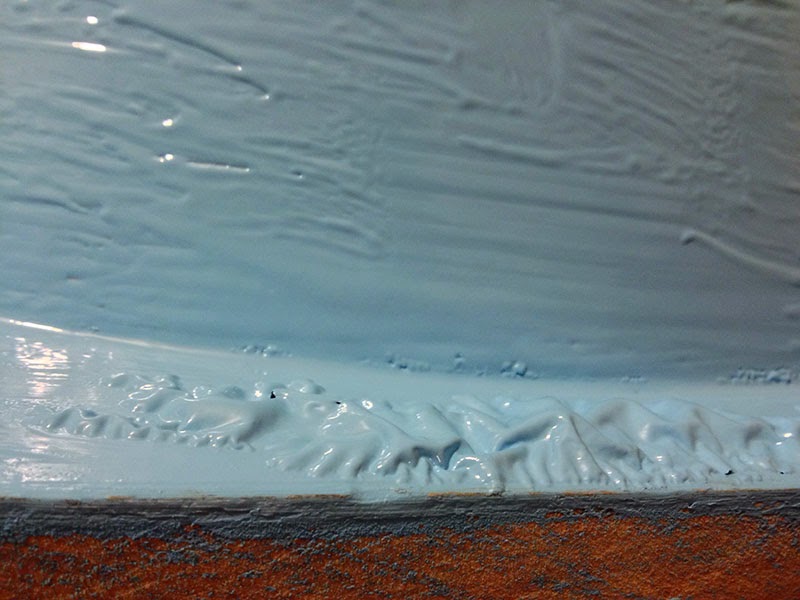
I then let the gel-coat sit for about two or three hours.
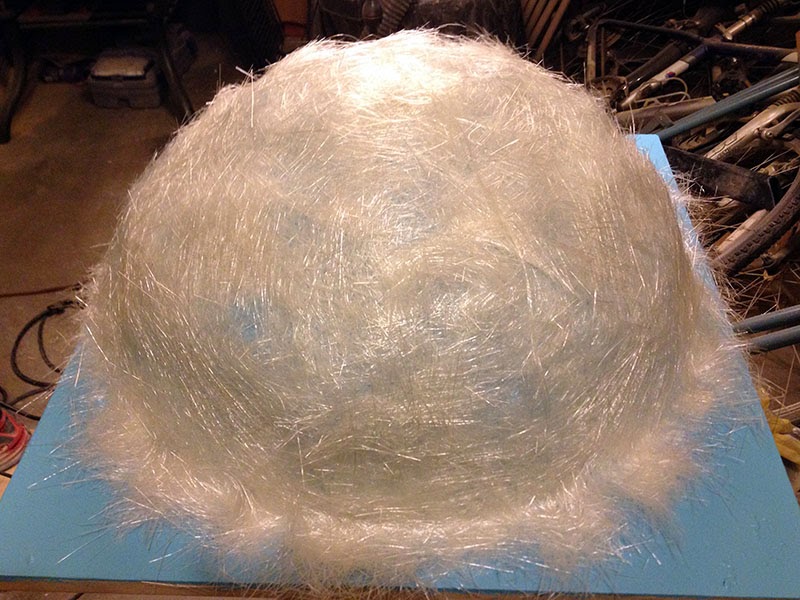 Another mistake I made was applying the shredded chop mat to the gel-coat directly, without slathering resin down first. I did this because I wasn't sure I had ripped up enough matting to cover the whole dome. I say it was a mistake because I pretty much immediately realized I had mixed far too little resin to cover the whole thing in one fell swoop. Also, the action of dabbing on resin with the brush was pushing the matting down, until when I finally got to the bottom of the plug, I had all this excess wet glass overlapping itself, or drooping over the edge of the base board.
 I checked on it in the morning before going to work and saw that it was already pretty cured. At work I was chomping on the bit to get home and check to see if I could separate the plug from the mold. I got home, checked the dome, determined that it was ready for prying loose. I worked for about an hour trying to separate the mold from the plug. I boiled some water and poured that into an open section I had made. I took plastic filler spreaders and hammered those into slightly open areas. Eventually, the plug fell off the board. So much for re-using it! I subsequently chopped up and scooped out the styrofoam so that only the newspaper, surfacing mat, and Bondo was left.
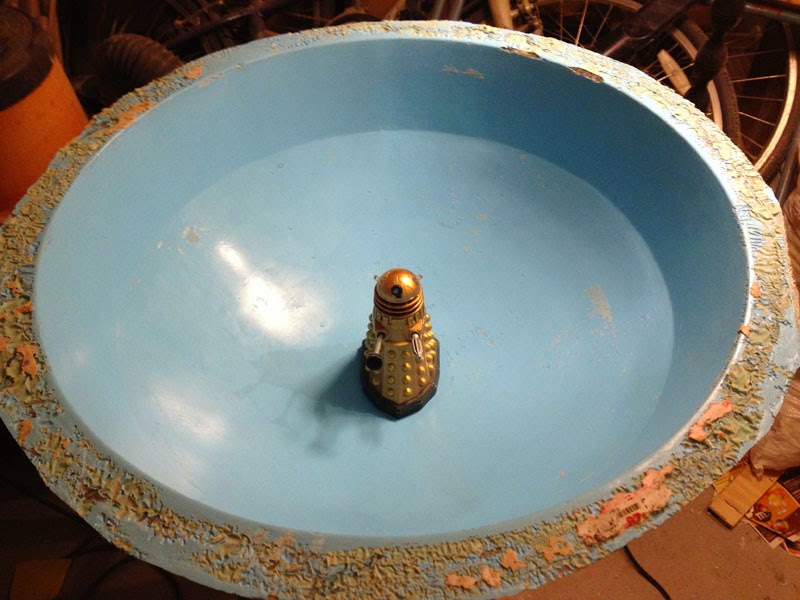 Finally—crack! The mold was free from the plug! And the plug came out in one whole piece, too! It wasn't a perfect dome, but I wasn't too bothered. I think it can be repaired. But now I know what the reaction I saw earlier did. I'll read up on how to repair gel-coat and see what can be done. Overall, I am extremely happy!
Here's the latest stack shot, with a bit of a cheat; the dome is actually the plug! ;)

No comments:
Post a Comment