 I've been fighting some procrastination lately, mainly because two video games I've been looking forward to were released, and I've been playing them instead of working on Rainier. But, today, I changed that!
I spent a great deal of time today sanding down the dome plug to clearly expose the streaks and pits I will need to fill before varnishing it with polyurethane. I attacked it aggressively with 80 grit sandpaper, then 120 grit, then switched to a 220 grit pad on my orbital sander.
 Although I made sure to take a very light approach with the orbital sander—since I didn't want to compromise the symmetrical curve of the sphere—I wound up making the chamfered edge a little less defined. I'll need to go back over those parts by hand and see if I can get some sharpness back on that.
Afterward, I took a 300 grit sanding sponge and went over it all again, giving it a nice polish. Once I fill in the pockmarks and streaks, I'll sand those down and do a final wet sanding with 1000 grit paper.
After my arms started to feel like they were about to fall off from all the sanding, I switched things up and started to work on getting holes cut into one of the steel gazing globes for the gun.
 I began by masking off the part that I wanted the hole, placed the gun's tube against it, and traced around it with a pen to make a circle. Then I drilled a series of small holes on the inside of the circle.
I then used my Dremel tool to cut the resulting small bits of metal between the holes, and finally sand/ground the jagged edges with the Dremel using (probably incorrectly) a sanding drum mandrel. It pretty much destroyed the sanding band, but did a remarkable job making a smooth hole in the globe.
I test fitted the tube, ground down the edges a little more, test fit the tube again, etc. Eventually, the tube slipped right in. Now I had to figure out there to cut the exit hole.

 I used that mark on the dowel as a center point while I again traced around the gun tube. I had to do trace the circle a couple of times to get it just right. I then repeated the drilling and Dremeling process. I slid the globe onto the tube, and now the gun is basically complete.
 I'm going to grind down the hole nearest the gun base a little more, as there's a bit of an off-center gap where the base isn't touching the globe on one side. It's barely noticeable, however. I'll then use a hose clamp to secure the globe into place. After that, I will just have to powder coat the globe black, but I'll do that when I get to the plunger arm in a while.
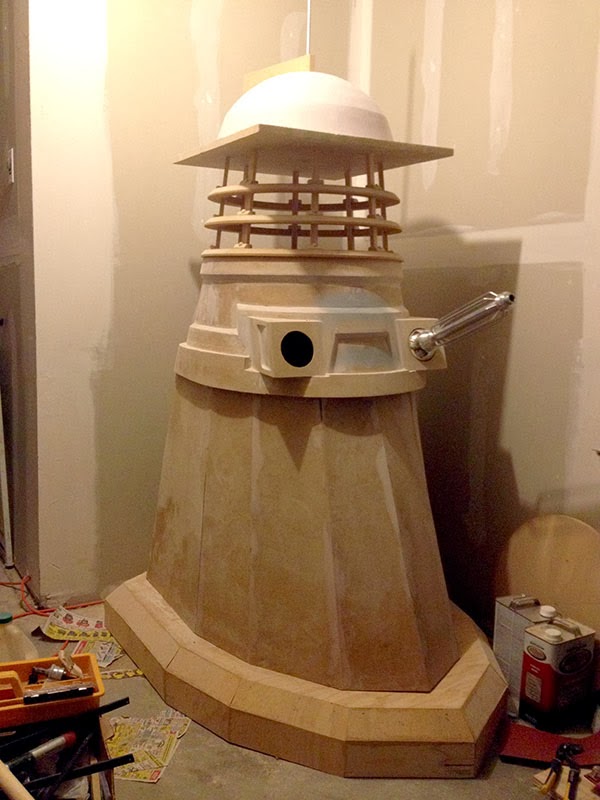
The latest stack shot is starting to look more and more menacing ...
No comments:
Post a Comment