
Ah, but before I begin, I received a package on Friday ... my Plastruct parts had arrived! Everything appears to be in order except for one thing—the small rings at the bottom of the image are wrong. Indeed, a few entries back, I inadvertently put the wrong inner diameter part. It should be this one:
- RI-40 (Qty. 2) - 1-9/16" O.D. x 1-1/4" I.D. ABS RING $1.40@ ($2.80 total) - small ring behind plunger
I don't know why I thought it was RI-24. What a silly bunt. Anyway, I am very happy that these pieces came.
Okay, enough of that. Onwards!
 To aid in the curing of the fiberglass resin layer I had added earlier, I ran upstairs and got a hair dryer. I'm glad I got the extra-long threaded post to clamp it to! After about four hours of it being on the low warm setting, the resin had cured!
 The following day after curing under the hair dryer, the resin'd dome plug was nice and strong. It was time for the first layer of Bondo. I finished up the one small can that I had, so I had to crack open the second small can. After that first layer had cured a bit (it doesn't take too long), I took my sureform rasp to it and filed down the rough spots, preparing it for a second layer. I wanted to keep adding layers until I got close to the edge of the wooden former.
 I ran out of Bondo in short order, so I went to get some more. As I was out on errands, I saw a VW with the simple word "exterminate" on its boot. An auspicious sign, indeed. More Bondo was procured forthwith. (Starbucks venti iced mocha added for scale.)
More layers followed. More curing. More rasping.
 At around layer four, the Bondo had started to creep up to the edge of the former. I decided to take a page out of ccain's build diary and add a 45° angle to the former. This would allow me to drag the remaining Bondo layers across the surface of the dome plug instead of using my knife spreader. I used my hand router (which still had the correct bit in it) to accomplish the angle. I didn't want the MDF to get all gunked up with Bondo as I was doing this, so I added some painter's tape to the edge.
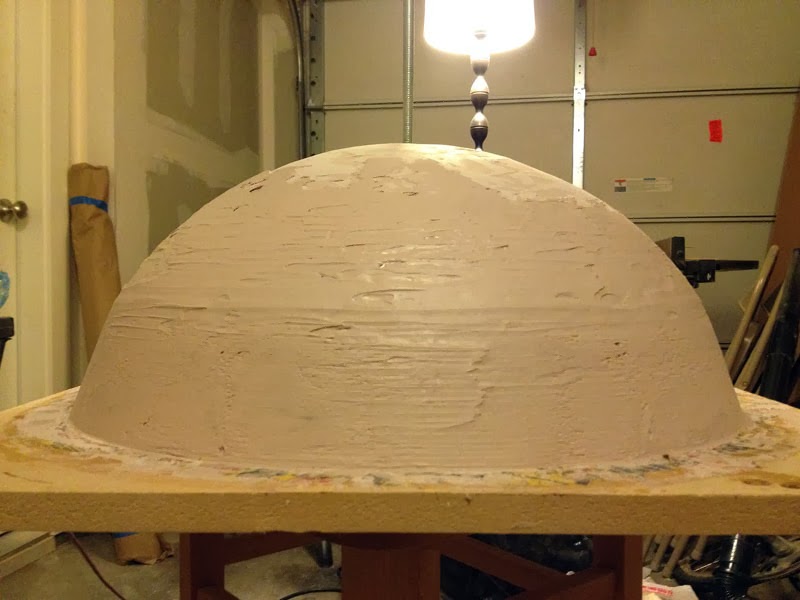

All in all, I am extremely pleased with how this all went. It really is a shame that, once the GRP mold is made from this part, all this will be going in the trash! Michelangelo wept.
No comments:
Post a Comment