
 This guy, Brad, lives in a suburb of Seattle (city of Auburn) about 30 miles away. He texted me several photos of his auto body work and I was very impressed. He also quoted me a much lower price that was one digit fewer than other quotes I've received.
Before he arrived, I did some final prep to the dome, drilling in holes for the bulb housing and mounting points. I traced a pencil line between the two light cage bolt holes (making it look an awful lot like Baymax from Big Hero Six), and used a forstner bit to get the big hole, and a regular drill bit for the mounting holes.
 Then I collected up Rainier's various bits and bobs (skirt, shoulders, shoulder slats, neck, dome, cowl, gunbox detail plates [courtesy of gregg.nowling], and hemispheres) and placed them in front of the garage for easy loading. When he arrived, I showed him the parts and gave him detailed instructions on what Rainier's color scheme is (choosing to stick with the colors as represented in the series 1 episode "Dalek"—specifically the lighter color of the lower shoulder band). He nodded in agreement, mentioned that it would take him about two or three days to complete, and off he went.
 I must say, I was a nervous wreck. It was like sending my kid off to school. So, to keep my mind occupied, I decided to tackle the fender the next day. I didn't send this piece off with him because I had intended to paint it myself using primer and truck bed liner. To better reflect the underlighting, I used a couple of coats of oil-based white primer. While painting, I was asking myself just where in the heck I was going to place my LED strips. There are reinforcing bits galore, and not a lot of room for anything else.
 Once that was dry, I flipped the fender over and masked off an 8cm area all around the top. I purchased a brand of truck bed liner called Herculiner, which consists mainly of rubber granules pre-mixed with black polyurethane. I stirred that up thoroughly with a paint mixing attachment on my hand drill, and applied a coat with the supplied sponge roller. This stuff cures to a light tack in about four hours or so, and then you can coat it with a heavier second layer, which I did, but not before ...
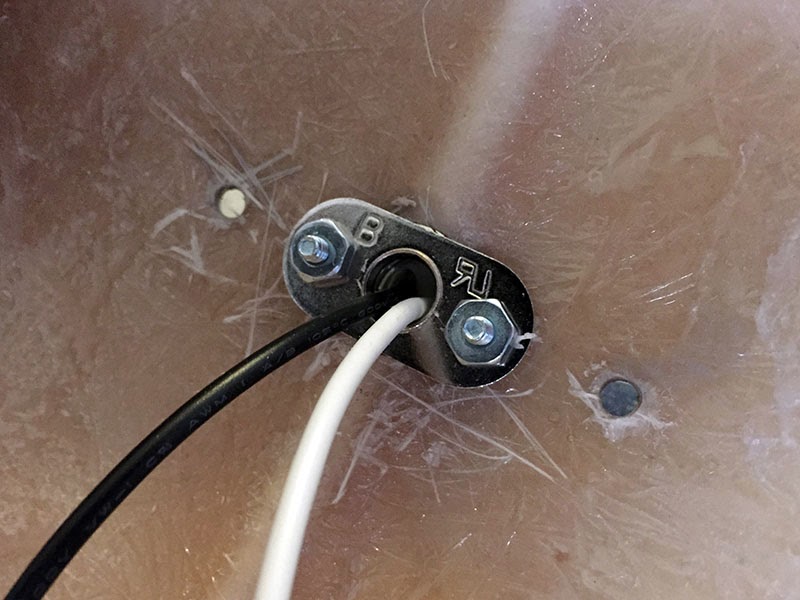
... I get a call from Brad saying that he's done painting and wants to deliver Rainer back to me that evening! Here I was, expecting him to be done in three more days! He explained saying that he needed the room in his shop for some other projects that he had lined up, so he spent extra time on Rainier to get him finished.
I put the second, thicker coat of liner on the fender while I waited for Brad's truck to approach. He finally appeared, about an hour after his ETA, and there Rainier was, bolted securely to a plank of wood in his truck bed. I can only imagine what other drivers on the road thought when they saw that image! And man, did that Dalek look good! He even painted the part of the dome black where the cowl covers, before hitting it all with clear coat. I'll save those pics for the very end.

 The next day, set about attaching the bulb housings to the dome. Easy job. I flipped the dome over, attached the bulbs to the housings, and put the dome light cage over the top. The ping pong balls surrounding the LED dome lights inside the lens covers look really nice, and has a height that matches that of the actual Dalek props, from what I can tell. I'm really pleased.
I cut grooves in the mostly-dried truck bed liner between each of the fender segments. (Not pictured: I dabbed black paint in the grooves later to cover up the exposed plywood). I will add the rivet details (socket head cap screws) soon.
Finally, I was able to unbox my Heronrib matting! Now that the neck section was painted, I could attach all that neck mesh! I had rectangles of the matting already cut months earlier, so I placed each piece inside the neck ring, and trimmed it into a trapezoidal shape corresponding to the tapered neck ring struts. Using some small wood screws, I fastened the mesh in place. I then attached the aluminum mesh and black voile to the Heronrib. The stiffness of the aluminum helps keep the curve flush against the neck interior.
And now for the big reveal! Here's Rainier just after unloading him from Brad's truck, and then later the next day after attaching the neck mesh. Ta-dah!


No comments:
Post a Comment