 Again, following the path AdamSt paved, I have been working on a job that I've put off until now—the gunbox interior assemblies which keep the gun and plunger arm in position within the shoulder section. Since nothing is currently holding the globes in place (except gravity), the approach is to "sandwich" them in using MDF plates, bolts, springs, and wing nuts. The front of the gunbox (the exposed part on the shoulder section) can't be marred with the bolt holes, so similarly-shaped internal plates need to be made and installed.
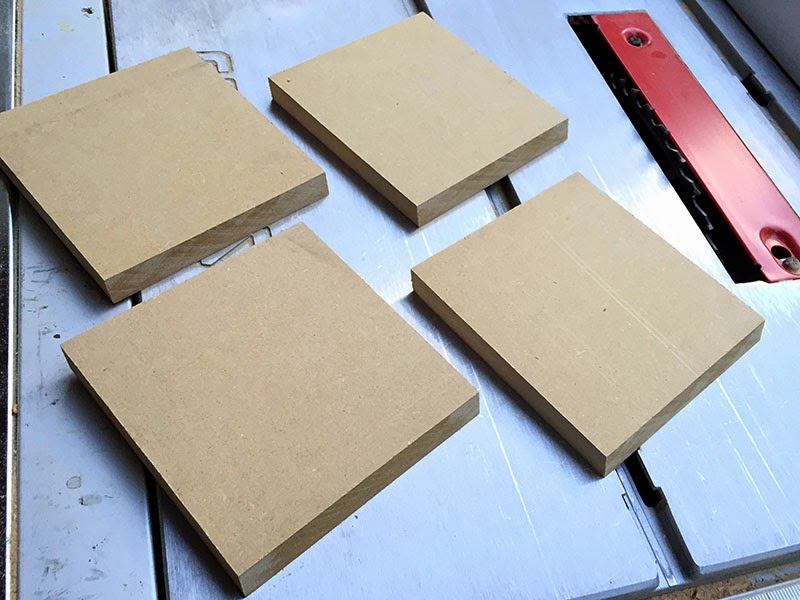
I couldn't find my protractor, so I went back into my own build diary to see if I had logged the front angle of the gunboxes, and I thankfully had done that. It has a 20° angle, so I set my table saw blade accordingly and cut four pieces of 1/2" MDF to match, two per gunbox. One of these will be attached via wood screws onto the interior of the gunbox as the middle part of the "sandwich", and the other will be the back.
 Now, I should have made these assemblies at the same time as the gunboxes themselves, because getting the exact measurements of the interior was a bit tricky since they're now part of the shoulder section proper. As such, I cut the plates with a larger initial width, then trimmed them until they fit in each gunbox. I then took a pencil and ran it along the edge of the gunbox holes, tracing a rough circle onto the two "middle" plates. This was so that I knew the approximate location for where to drill with my 4" hole saw. I traced an accurate 4" circle on top of that and drew a square around it to find the center. Then I cut holes in both the left and right plates.
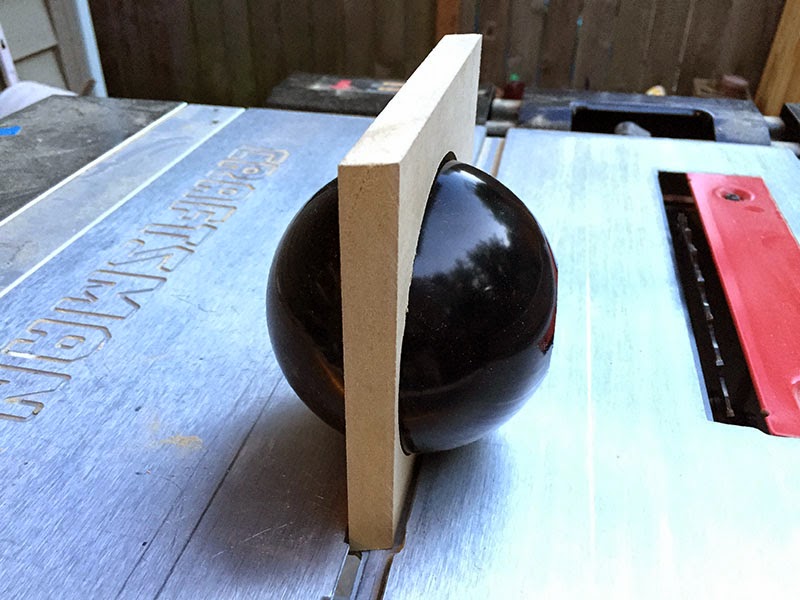
Not an exact science by any means! I checked my work thus far by seeing if the globes would pass through the 4" hole untouched (the middle plate doesn't hold the globes in place, that's the back plate's job). I also checked to see if the holes lines up with each other, and if the 20° angle was accurate for the slant. The globe still poked out of the gunbox unobstructed. Success!
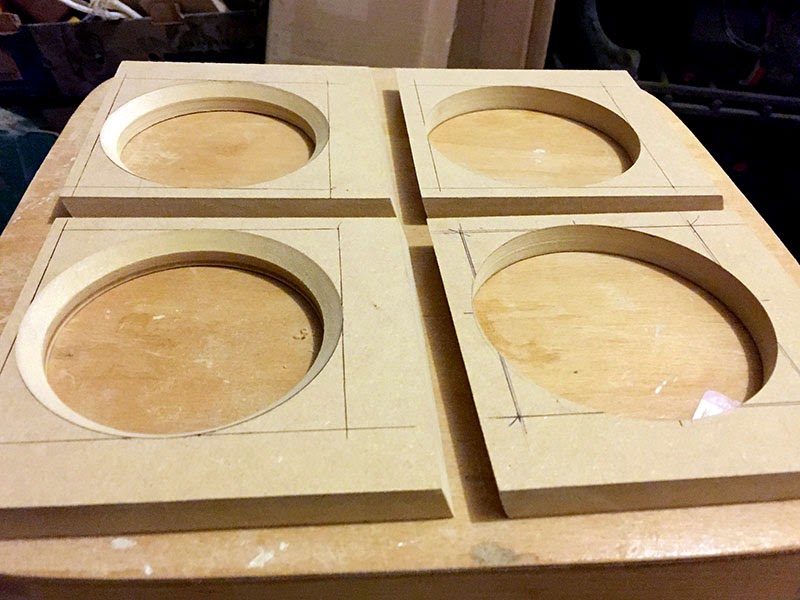
Next, I lined up the back plate to the middle plate, and traced around the 4" hole that I just drilled. I repeated my process for finding the center of the circle. Now, since this back plate will be butted up against the other side of the globe, the hole needs to be smaller. I switched from my 4" saw to my 3.5" one and cut those holes. Like the front of the gunbox, it needed to have a 45° chamfer. Switching to my hand router, I added that detail.
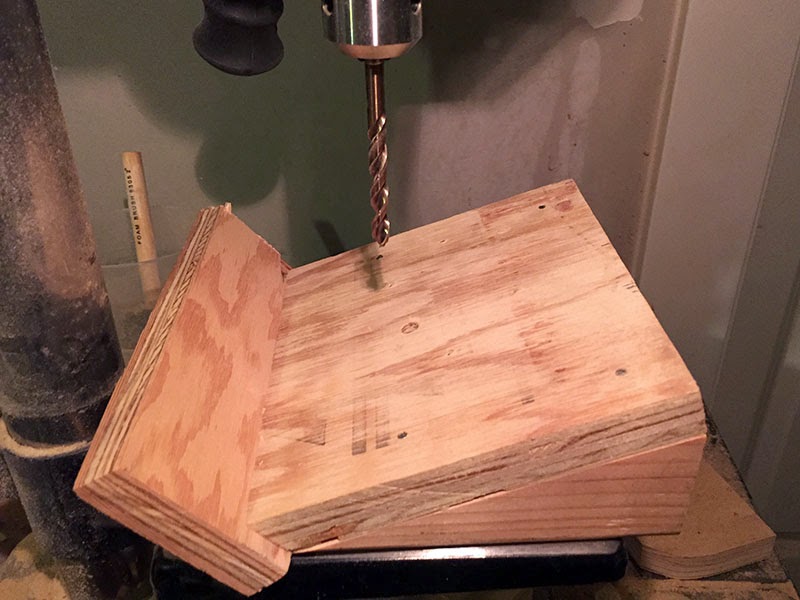 Now that I had all four holes drilled and lined up, I set to work creating a 20° jig for drilling the bolt holes. These need to be parallel in relation to the top and bottom of the gunboxes. Some quick work with scrap 2x4s (from when I mounted the wheels to the fender), the table saw, a hammer, and some nails, and I had a nice jig.
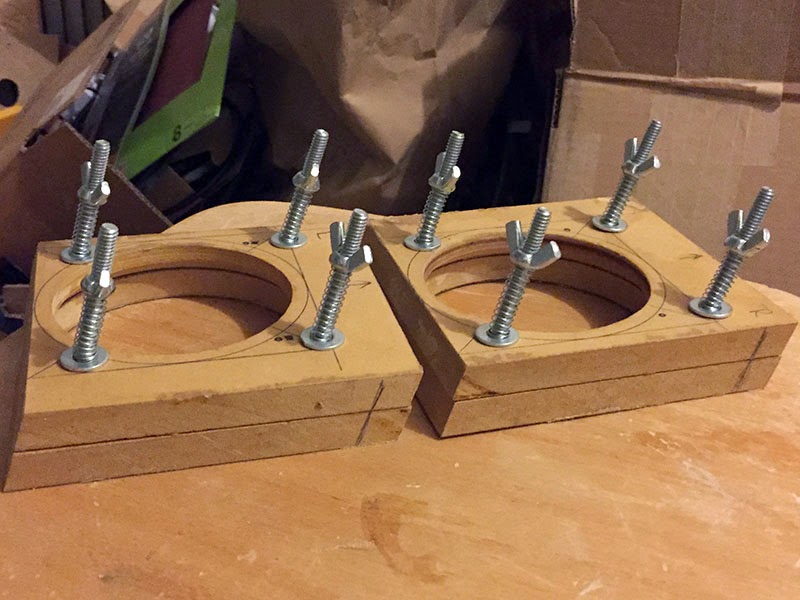
 When I drilled the bolt holes, I made sure to clamp the middle and back plates together so that the holes were evenly lined up. After a bit of time, I had them all drilled, and added bolts to test the alignment. I was worried that the the tightness of the corners nearest the shoulder walls would be tricky to allow the addition of the eventual wing nut, so I tried to keep that in mind when deciding where I wanted to drill. All these angles were making my head hurt! I did a quick test to see if the wing nut had enough room to spin, and it indeed did. Whew!
 Since the middle plate is going to be attached to the back of the gunbox with wood screws, it needs to sit flush against it. The bolt heads currently prevented that from happening, so a little countersinking was in order. Switching to a forstner bit and using my jig, I added the proper countersink to each of the bolt holes.
I also switch to a small countersink bit and drilled (not at a 20° angle this time) the holes that the wood screws will use for attaching the middle plate to the interior of the gunbox (not pictured).

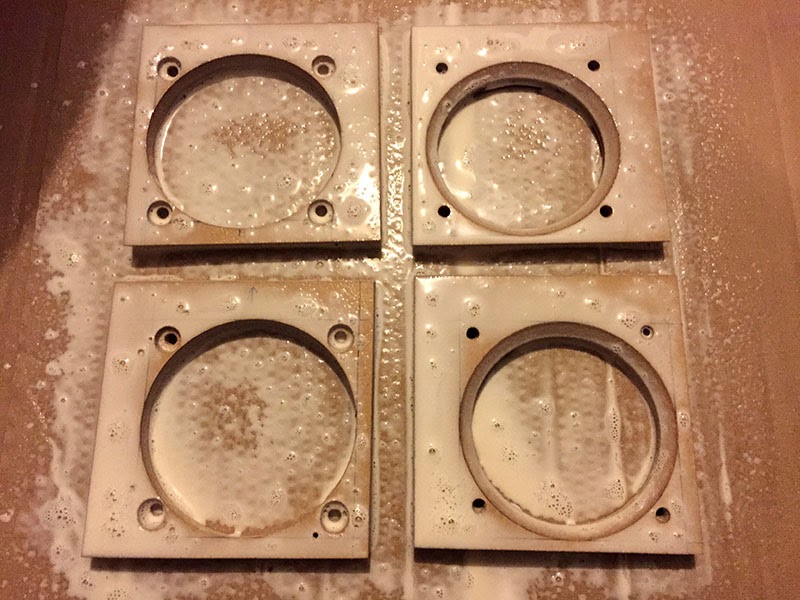
Now that everything was cut, trimmed, and drilled, I spritzed the pieces with my PVA wash (4 parts water, 1 part Titebond III) and waited for it to dry. Since these pieces are going to be inside, they'll be exposed to water vapor from my breath, so I decided to seal them up before eventually painting and installing them.
 Once dry, I re-added the bolts, springs, and wing nuts. I haven't installed them inside the shoulders yet, as I want to prime and paint them (and the rest of the shoulder interior), which will come later. Once painted, I'll attach a soft felt lining so that the globes don't get scraped when the gun or plunger arm are moved about. Then they will be installed into the shoulder section. Until then, they are resting comfortably in the same box where I keep my shoulder slats.
(As an aside, while I waited for the PVA wash to dry, I shopped for some proper exterior bolts to eventually attach to the fender, eye piece, dome cowl, dome lights, and gunbox details. I was having a hard time converting the metric description of the bolts to what's available in the US, until I ran across acrodrome's post in the "2005 Design Dalek Appendages" forum.)
I'm amazed at your skills with all the different materials
ReplyDelete