 I started out with the base, of course. I wanted to have as level of a base as I could; I reasoned that I should use MDF instead of plywood because of the warping issues I ran into when building the fender. I still had quite a bit of 3/4" MDF left over from making the neck rings, so I took it to the table saw and made a 2' x 2' square.
 I went out to Lowe's, and the helpful hardware man there located some T-nuts for me to use on the threaded rod I had selected. This made the rod quite perpendicular to the base when attached to both the top and the bottom. One thing I forgot was to countersink the bottom one, but I'm okay with that.
(Oh, I should mention that when I selected the rod at Lowe's, I rolled it on the floor first to make sure that it was quite straight. There were some there that had a slight bend to them, so I'm glad I tested a few out before choosing.)
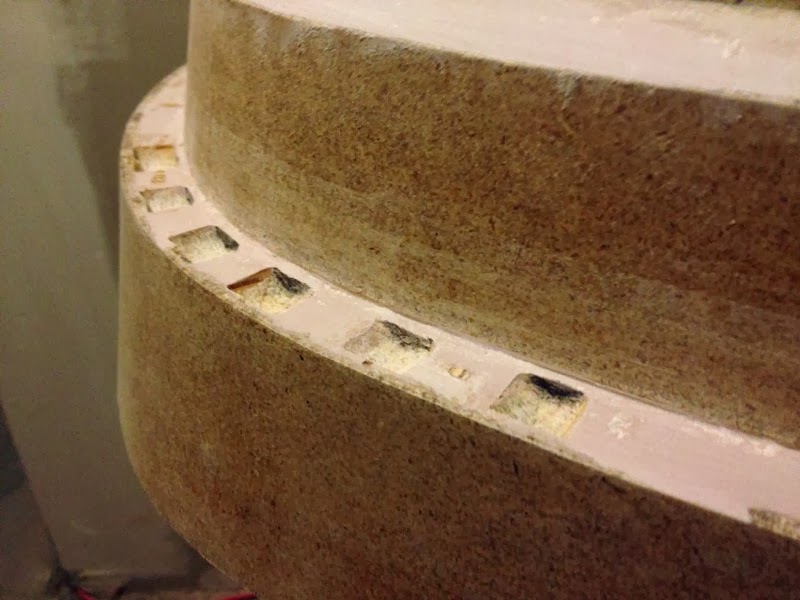
Next was to apply the template I drew out earlier onto some additional 3/4" MDF. First, I went to the table saw and trimmed everything to the minimum size it needed to be. Then I went to the jigsaw and cut the curve and the chamfered edge. Then I took 80-grit sandpaper and sanded to the line I had drawn to make it all nice and smooth. Then I drilled a hole into the top. I did this because I trusted the straightness of a drilled hole to the possibility of other solutions on the site not being so straight—namely attaching bent metal and bolting it to the former. Also, it was easier for me to calculate where to drill the hole, and still have an even 26cm radius from the center of the threaded rod to the edge of the dome's parameter (the proper diameter of the NSD/Imperial Dalek dome).
I cut up ever-decreasing sizes of styrofoam that was left over from my bookcase, but it appears that I don't have enough. Well, I have some thinner strips, and I can probably glue them on individually, which should be okay. But I got bored, so I stopped, hehe. I'll finish it all up later, but I may still have to buy a few more sheets at a craft store. After this, I'll whip out the sureform rasp and start rasping away to make them into the dome form we're all so very familiar with.
So far, I'm very pleased. If I take this one step at a time, I hope I get a very good dome out of this, indeed. It's about time!
In other news, I bought a two-foot length of 1" aluminum pipe for the gun barrel from onlinemetals.com (specific item here), but the outer diameter is slightly bigger than the exact 1" hole machined into my two gun bosses. For tubing, I thought the tolerances would be stricter. Not only that, it's inner diameter isn't a uniform .125", giving it an off-center look. Overall, I'm disappointed, but at $5.00, you get what you pay for.
Someone suggested that it might be to do with the manufacturing process and whether the tube is "drawn" or "extruded". Both types start as extruded tube, but then if more dimensional accuracy is required, the extruded tube is shaped by "drawing" the material through a die. This process makes the tube stronger with a better surface finish and more accurate and constant dimensions than the equivalent extruded tube.
A brief search online, however, shows that the tube I bought is extruded, but there is a drawn option also available. I ordered a 2' length of that, and I'll pick it up tomorrow. It's about three times the price, but that's not too bad.


